Everything you need for an enjoyable introduction to road cycling
Setting out on your first road ride can be a daunting proposition.
You have to consider where to go and how long for. You also have to ensure you and your bike are ready for what’s to come.
But don’t let that put you off. In this guide to planning your first road ride, we’ll explain the six things you need to do to make your maiden voyage a success.
1. Be realistic
Just how fit are you? Can you run for the bus without breaking a sweat or does a single flight of stairs leave you panting and out of breath? There’s no need for heroics here, and we’d suggest keeping your first outing short and sweet.
If you’re moderately active already, make your first ride 15km and aim to complete it in an hour to an hour and a half.
If you’re less confident about your fitness, try to plan a route with a stop at 10km that gives you the option of adding distance if you’re feeling good, or heading home if you’re not.
2. Wear the right kit

The most important thing you will need is a road bike helmet.
While here in the UK a helmet is not mandatory by law, it is advisable to wear a helmet to help minimise the risk of serious head injuries.
Many of the best road bike helmets will be lightweight, breathable and focus on ensuring comfort for long days out.
A growing trend in road bike helmets is technology that will protect your head against rotational impacts. A popular option used by brands is the third-party technology MIPS, but other brands have their own version, such as Lazer’s KinetiCore.
Wearing a helmet is important for safety, but how you wear a helmet is equally important, because without the correct fit, a helmet’s protection can be compromised.
Shoes

While you can use your normal shoes to go for a road bike ride, the best road bike shoes will often be lighter, more ventilated and stiffer for greater pedalling efficiency (although, whether cycling shoe stiffness actually matters is a subject of some debate).
They will often be slimmer than day-to-day shoes, more aerodynamic and with closing systems that won’t get caught in your bike.
It’s worth taking the time to find the right shoes for you, because the fit of cycling shoes can vary greatly and can be as personal a choice as the best bike saddles.
Road cycling shoes will often come with mounts for three-bolt cleats, which are compatible with road bike pedals. Others will come with holes for two-bolt cleats, which are compatible with mountain-bike style pedals. Some may even come with mounts for both types of cleats.
Pedals

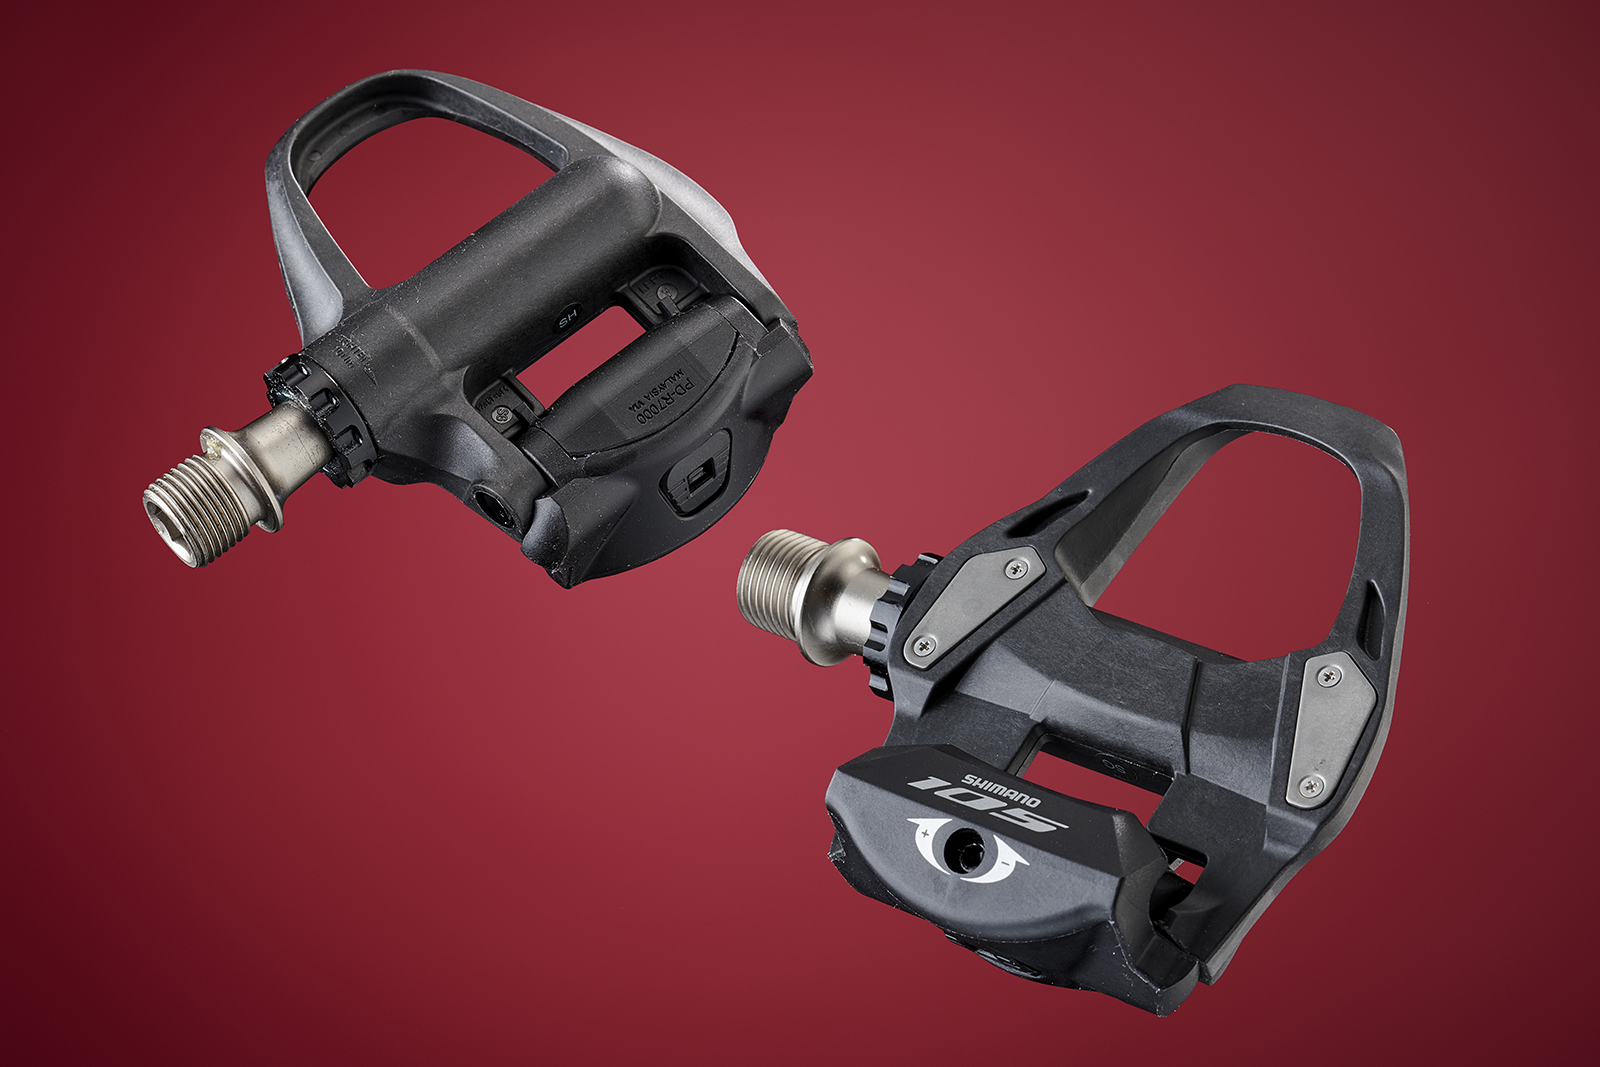
The best road bike pedals tend to be one-sided, clipless pedals, compatible with three-bolt cleats (though, as always, there are exceptions such as Wahoo’s Speedplay Zero range).
While many people will start out using flat pedals, road cyclists tend to like cycling with cleats because they provide a firm and secure connection between the foot and the bike.
Some road cyclists opt for mountain bike pedals that are compatible with two-bolt cleats, because these enable them to use shoes with treads for walking. These systems are also typically easier to clip into and often offer a dual-sided platform, making them more beginner-friendly.
You can read our guide on SPD vs SPD-SL pedals to find out whether a three-bolt or two-bolt cleat system is best for you.
Cycling kit

Just as there’s no reason to stop you from riding your road bike with normal shoes, there’s no reason you can’t head out in your normal clothes either.
But there is a whole world of cycling kit – from socks to headbands – tailored to the specific demands of cycling.
One of the most valuable pieces of cycling-specific clothing to consider is a pair of the best bib shorts or best women’s bib shorts. These are close-fitting Lycra bottoms with pads designed to keep your bottom comfortable on long rides.

Many cyclists will opt for a cycling jersey because these will help wick sweat away and have pockets on the back to carry supplies.
Wearing form-fitting clothing is also an easy way to make yourself faster on the bike, if that interests you, because it’s more aerodynamic than baggy clothing.
For colder weather, cycling tights will offer the same advantages as cycling shorts but provide extra warmth. The best cycling gloves and the best overshoes will help keep you warm, too.
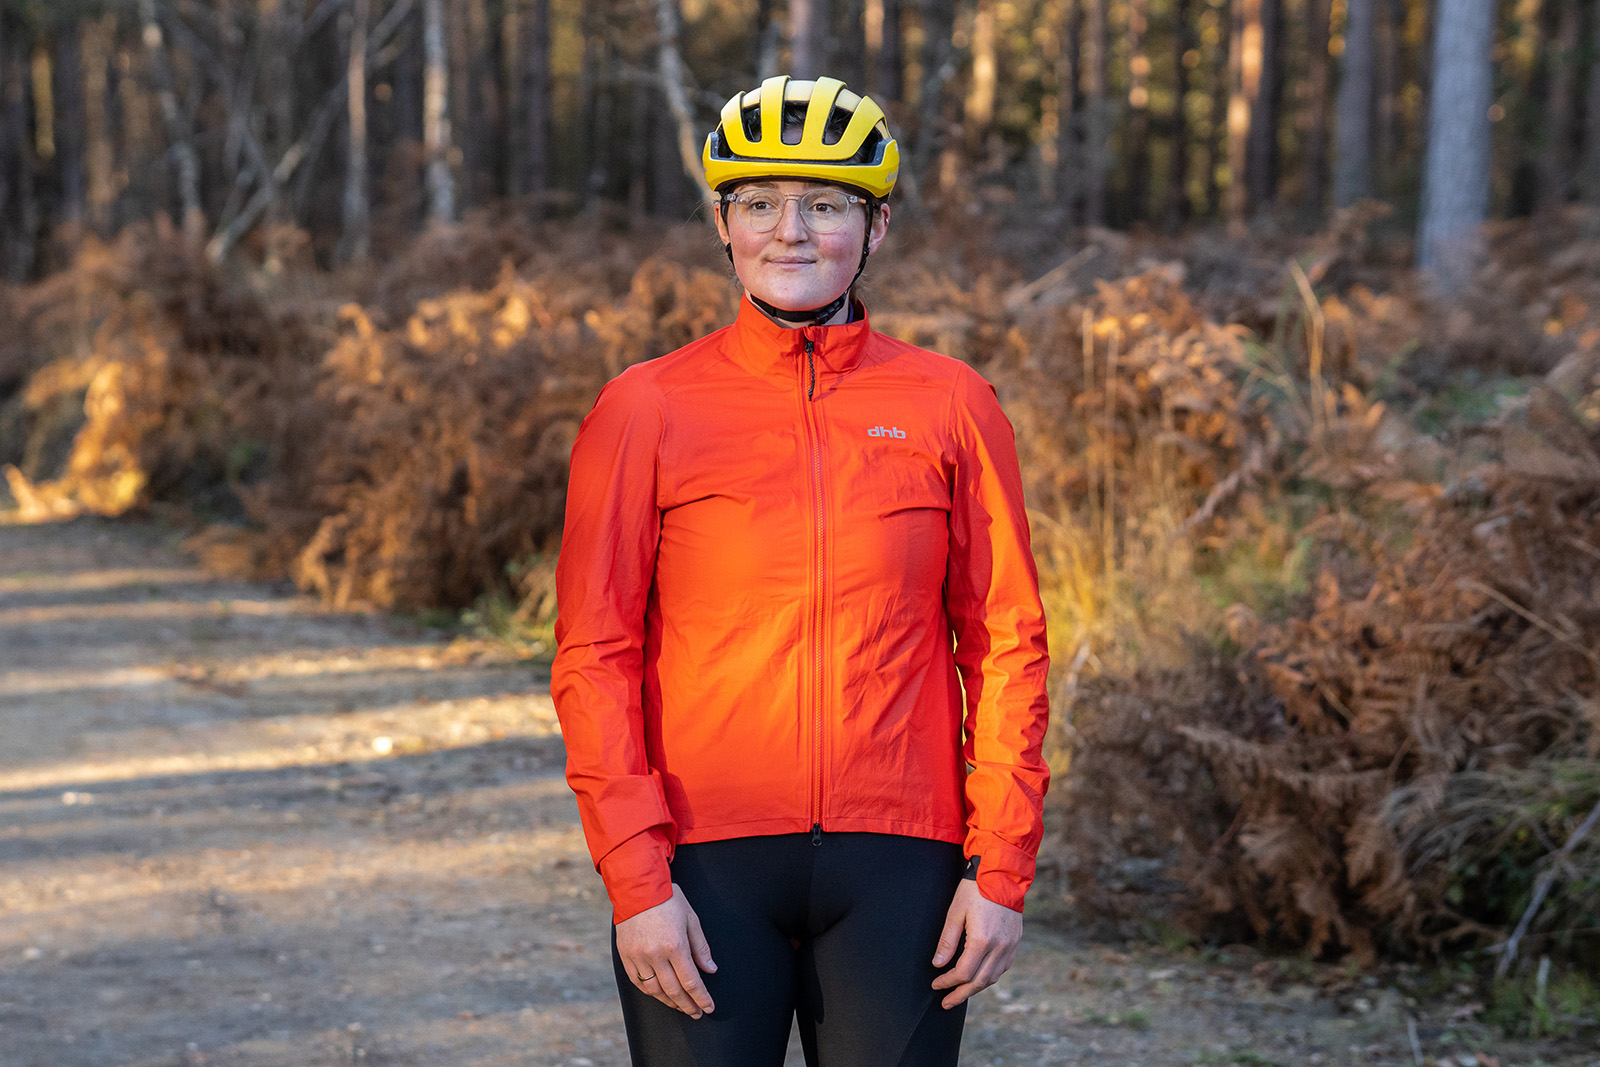
As with virtually any outdoor activity, it’s worth investing in a good waterproof jacket.
3. Bring the right kit

One of the great things about road bikes is they enable you to cover great distances with ease, but this means being prepared to fix a flat tyre is wise because you don’t want to end up stranded.
In order to fix a flat tyre, you will need tyre levers and a pump. You can fix a small hole in an inner tube with a puncture repair kit, but many riders opt to carry a spare inner tube to make for a quick repair.
If your bike has tubeless tyres, you will need to take a tubeless tyre repair kit. These contain plugs that help the tubeless sealant within the tyre seal the hole back up, so you can re-inflate the tyre using a mini bike pump and carry on riding.
It may also be worth having a CO2 inflator with you on your rides. This will supply enough pressure to seat the tyre beads back on the rim, if you’ve had to remove them to carry out a repair.
Alternatively, a spare inner tube can be fitted to a tubeless tyre with a puncture that can’t be fixed with plugs and sealant alone.
4. Plan your route

As we’ve said, keep it short to begin with, and aim to ride on roads with no big hills and minimal traffic. If that’s not possible where you live, consider driving somewhere more suitable if that’s an option for you.
A place where you can ride laps, such as a reservoir or park with asphalt cycling paths, is a great shout.
It may sound odd to suggest this on a cycling website, but you’ll enjoy yourself much more if you can focus initially on riding the bike rather than dodging cars, especially in the first few miles of your cycling life.
If it helps with motivation, aim to hit a cafe halfway round for a quick caffeinated morale-booster.
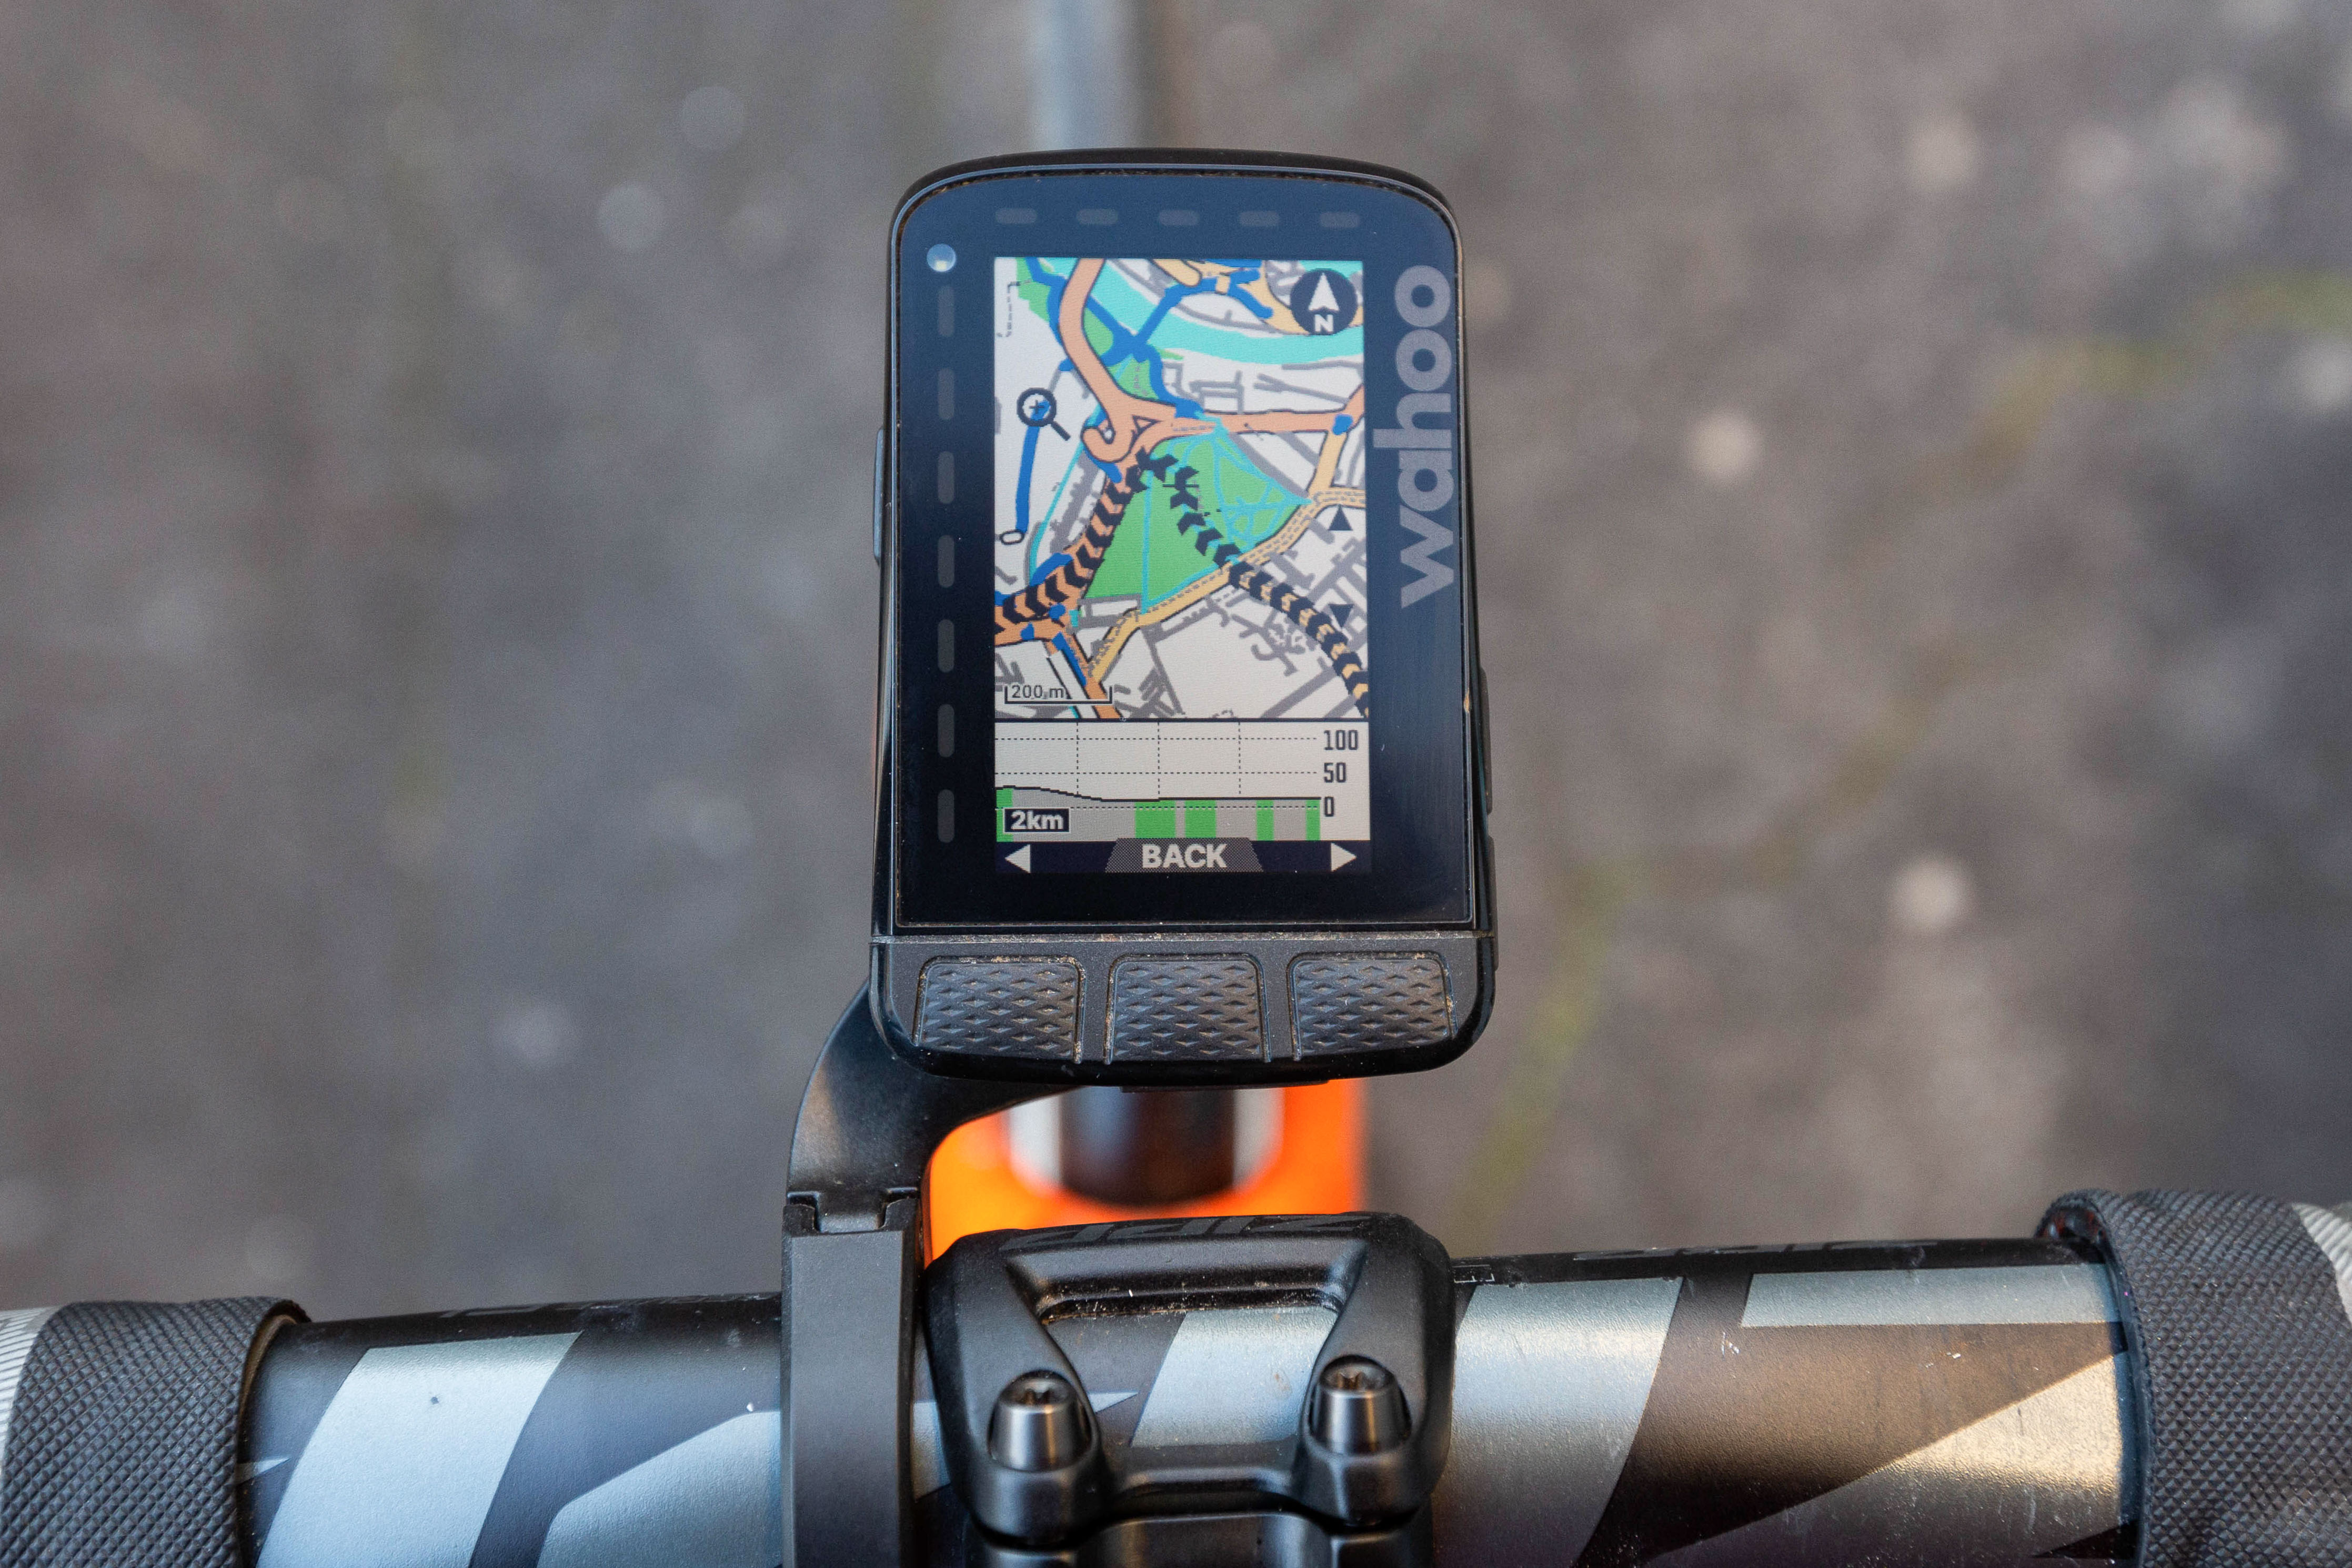
There are lots of free (or partly free – most have paid upgrade options) online services and apps that will make planning a route easier, including cycling-specific ones such as Strava, Komoot, Ride with GPS and Mapmyride, as well as good old Google Maps.

These enable you to plan exactly how far you want to ride and show you whether there’ll be any hills along the way. Just be aware of letting software choose your route because not all platforms have a finely calibrated sense of where it’s appropriate to ride a bicycle.
Some won’t differentiate between tiny farm tracks and dual carriageways when they suggest directions, so if you’re in any doubt about a road’s suitability, Google Streetview is your friend. As a general rule, try to avoid A-roads because cars will generally be driving a lot faster on these.

Most GPS bike computers will have some form of built-in navigation, and the option to download a route to the device. However, even if you don’t have a bike computer, you probably own a smartphone, so why not make use of its built-in GPS to navigate using your pre-planned route?
You can get handlebar phone mounts for most phones if you feel the need, but you should be able to hear instructions with it in your back pocket, regardless.
5. Prepare your bike

Your bike shop will have sorted out the essentials for you, but there are some basic things you can easily check yourself. It’s also worth learning how to do a basic pre-ride safety check.
Your saddle should be at a height where you can pedal freely, and you should have just a slight bend in your knee when the pedal is at its lowest point. If you can place both feet flat on the ground while seated on the saddle, it’s too low and you’ll hurt your knees.
Your tyres need to be properly pumped up, and this is best carried out with a track pump (also called a floor pump) with a gauge. The correct road bike tyre pressure is subject to your weight and the exact size of the tyres.
There are many online calculators and apps that will give you advice on this, but for an 80kg rider with 700×25mm tyres, we’d recommend starting with 100psi in your rear tyre and 90psi in your front tyre.
Lighter riders can go lower, heavier riders should go higher. As you gain experience, you may want to experiment with higher or lower pressures to fine-tune your ride. Try adjusting in increments of 5psi at a time.
Before hitting the road, take some time to familiarise yourself with your bike, making sure you can comfortably operate the gears and brakes. If your bike is fitted with clipless pedals, practice clipping in and out.
It’s a good idea to always unclip one foot a few seconds before you come to a halt. That way, you’re much less likely to forget and tip over awkwardly at a standstill.

Try shifting through the gears, but avoid the easiest two at the back when you’re in the bigger chainring at the front, and the hardest two at the back when you’re in the little ring. These gear combinations force the chain to work at an extreme angle, which puts unnecessary strain on your drivetrain.
Don’t operate both shifters at once, and get into the habit of easing off the pedals slightly as you shift. It’ll make everything work a bit more smoothly and reduces the chances of an accidental chain drop.
You should be able to ride comfortably with your hands on the brake hoods for prolonged periods, and from there you need to be able to shift both front and rear gears.
The drops are used when you want to go really fast, and for descending. It’s important that you can brake safely from either the hoods or the drops, so try both out and make sure you’re comfortable moving from one to the other. Do this one hand at a time so you’re never completely letting go of the bar.
6. Prepare yourself

Come the day, eat a carby but not overly heavy breakfast and give yourself a good hour and a half to digest it. Porridge is ideal, or toast with lashings of jam – or ‘jelly’ if you’re American.
You likely won’t need to eat much on a ride this long, but it’s best to get in the habit of carrying a bit of food with you — so take a banana or a square of flapjack.
You should also put a bottle of water or energy drink in your bottle cage, and try to take a sip every 20 minutes or so, even if you don’t feel thirsty.
The rest is up to you, so saddle up, have fun and be safe out there!